
Classic English Scones
- Sep 4, 2025
- 4 min read
Updated: Nov 1, 2025
The first time I ever tried English scones was in December 2019, when my mom and I went to High Tea. We were at this fancy, ancient, British-style castle in Eastern Ontario. Picture a lavish colonial dining hall, floor-to-ceiling windows, and, through these windows, far off in the distance, a beautiful landscape under a blanket of snow. On the table in front of you, a three-storey silver tray with pastel-coloured, melt-in-your mouth pastries. They all look so enchanting you don't know what to grab first. I happened to go for the scone. I hadn't ever tried one, and I certainly wasn't expecting the wave of deliciousness that it would entail. What sort of magic were scones made of? Naturally, I had to find out. That same weekend I started testing scone recipes and, before I knew it, I'd gone down the rabbit hole. The recipes were all good... but I wasn't satisfied. I spent the next nine years tweaking and perfecting a recipe of my own, implementing a myriad of combinations—heavy cream, light cream, egg, no egg, baking soda, no baking soda, salted butter, unsalted butter, vanilla extract, no vanilla extract... You get it. I repeated this process systematically (thanks, science research background) until I arrived at a recipe that would produce the most perfectly scrumptious, optimally sweet, dreamily crumbly scone. This is that recipe. (You're welcome.)
Testing and tweaking dozens of scone recipes over the years did teach me some scone wisdom. Allow me to impart it on you:
Scone dough is, by nature, delicate. The less you work it, the better. Overworking it will lead to stiff, flat scones instead of soft, fluffy ones.
Work quickly. The butter needs to remain cold right up until the scones are in the oven, so it's important not to let the dough sit on the counter longer than necessary.
The scones must be placed on the baking sheet in rows, in such a way that they are making contact with each other. This helps them to maintain their shape.
The dough should be slightly sticky when you plop it on the countertop—not dry.
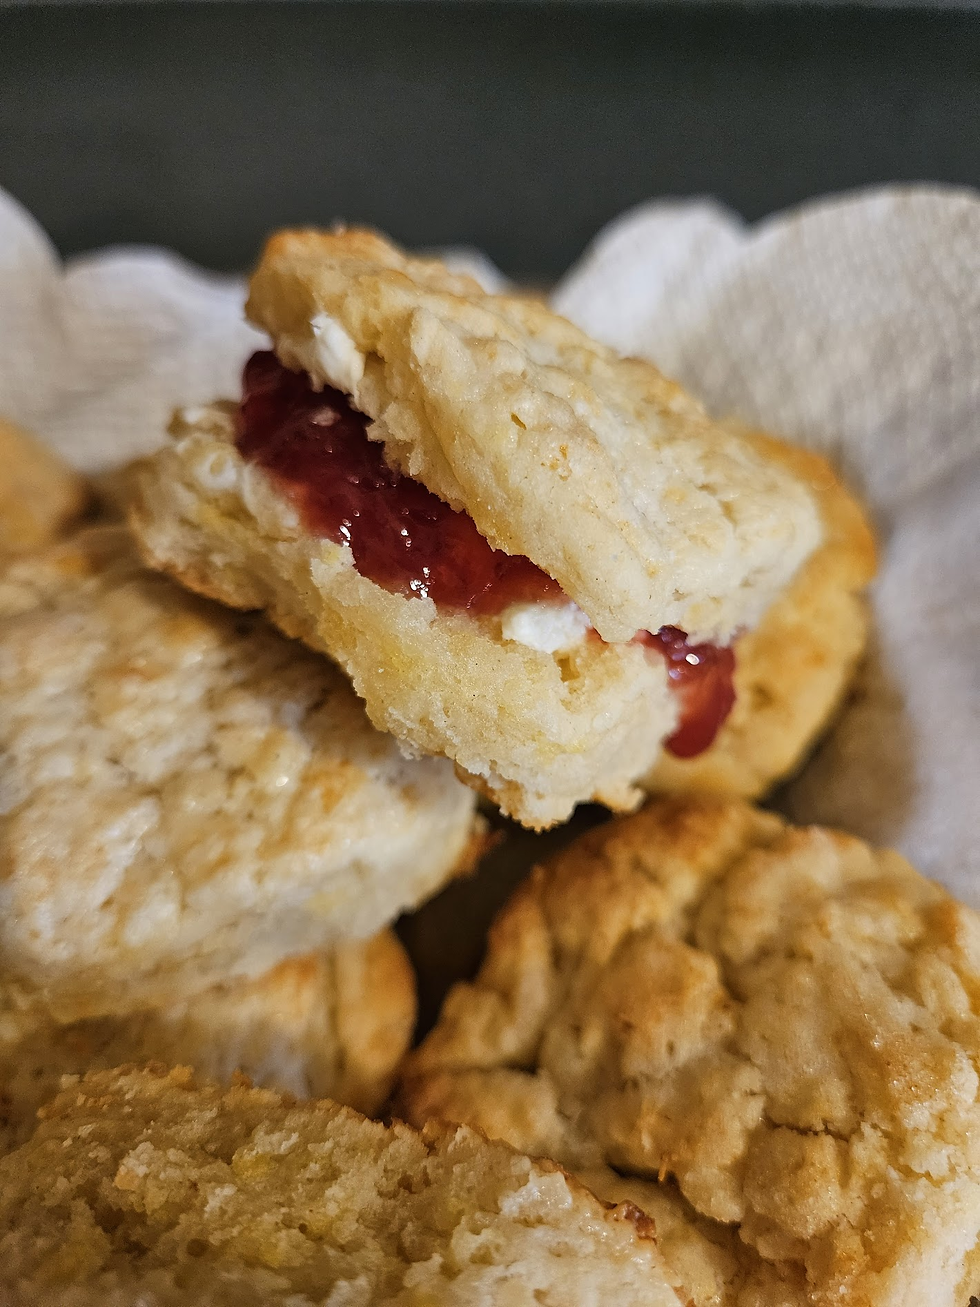
You'll want to fill these with the highest-quality jam and the airiest cream cheese you can find—the difference this makes truly cannot be overstated.
You can substitute heavy cream for light cream—and you can add an egg. However, throughout my testing process, I got consistently fluffier, richer, tastier scones by using heavy cream and no egg.
While the turbinado sugar is not essential, I can't quite convey the tremendous difference that it makes to the taste and texture of the scones. I strongly recommend that you get your hands on some turbinado and that you sprinkle it like there's no tomorrow.
This recipe is extremely easy, and beyond delicious. These scones taste just like those I had with my mom at that fancy English castle all those years ago... or even better.
At a Glance
Prep Time: 25 minutes
Cook Time: 9-12 minutes
Total Time: 35 minutes
Servings: 8-10 scones
Category: Breakfast / Afternoon Tea Time
Ingredients
2 cups flour
1/2 teaspoon salt
3 teaspoon baking powder
3 tablespoons granulated sugar
60 grams cold, unsalted butter
1 1/4 cup heavy cream, more for brushing
1/2 tablespoon vanilla extract
1/2 tablespoon turbinado sugar
Instructions
Preheat the oven to 450 °F.
In a medium bowl, whisk together the flour, baking powder, salt, and 2.5 tablespoons of the granulated sugar until evenly mixed. Set aside. (This is your dry-ingredients bowl.)
Cut the butter into small cubes and place the cubes in the dry-ingredients bowl. Then, using a fork and knife, systematically cut the cubes into smaller chunks, working them into the dry ingredients as you do so. The mixture will become crumbly as the butter is incorporated. (This is your butter mixture.)
Tip: Don't overdo it with the cutting. Leave some larger butter chunks, since these will create beautiful, crumbly air pockets in the scones once baked.
Using a fork or your hands, make a hole in the centre of the butter mixture.
In a very small bowl, mix the cream and the vanilla extract together. (This is your wet mixture.) Pour the wet mixture into the hole of the butter mixture. Using a spatula, gently incorporate the wet mixture into the butter mixture, creating the dough. The dough should stick to your hands just a little.
Place the dough on a lightly floured surface, shape it into a circle, and fold the circle in half two or three times. Then, gently press down on the dough until it is about 2 cm tall. Using a cookie cutter, cut out circles about 4-5 cm in diameter, and place them on a non-greased baking sheet such that the edges of the scones are touching one another. Gently amalgamate any leftover dough and cut into circles again.
Brush the scones with a bit of heavy cream and sprinkle them with the remaining 0.5 tablespoons of granulated sugar and the turbinado sugar.
Bake for 9-11 minutes, or until the scones turn golden. Slice open and fill with cream cheese and jam. Serve immediately. Control yourself. (You'll want to eat more than one.)
Notes
Store, covered, at room temperature.
Consume within 3-4 days.
Freeze leftover scones (though there probably won't be any).

“Did you try my scones? Drop me a line to let me know!”
Comments